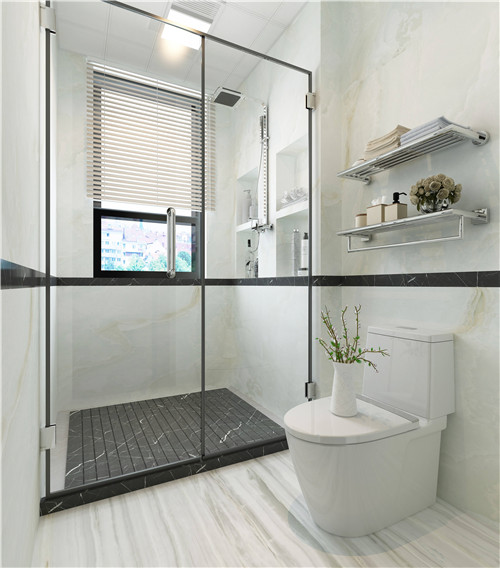
Redesigning the lavatory is moreover a especially vital perspective of the domestic. To make a way better environment, a showerhead is regularly introduced. Be that as it may, amid utilize, one may experience moo water weight issues. Underneath, we will present a few ways to make strides showerhead water weight.

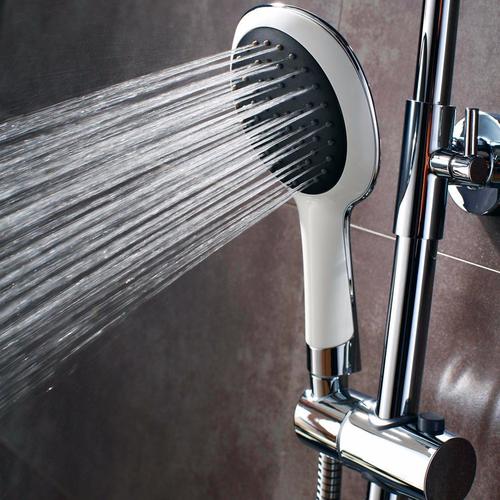
- Supplant with a Pressure-Boosting Showerhead
A pressure-boosting showerhead increments the water weight some time recently the hot and cold water comes to the blending valve. This permits the shower to accomplish greatest water temperature and stream rate, hence anticipating variances between hot and cold water. Also, pressure-boosting showerheads have a restricted stream highlight, which alters the channel zone concurring to water weight. This makes a difference adjust the water stream and increment weight whereas too moderating water.

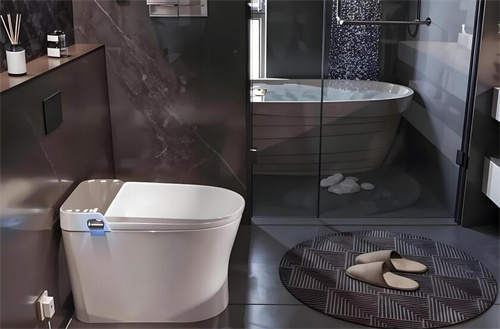
- Introduce a Water Weight Booster Pump
If the water weight is exceptionally moo, only depending on a pressure-boosting showerhead may not resolve the issue, and a water weight booster pump needs to be introduced. The essential work of a water weight booster pump is to boost water weight for water radiators, washing, and circumstances where high-rise buildings encounter inadequately water weight, as well as for solar-powered systems.
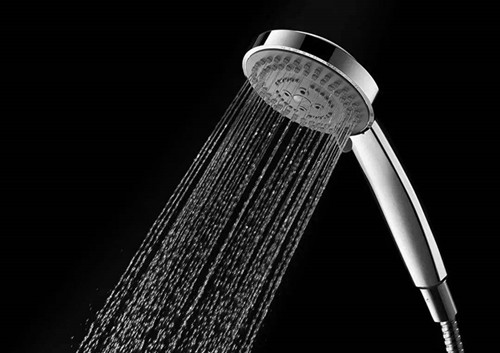
- Clean the Showerhead

To unblock modest gaps clogged with limescale, utilize a sharp question to puncture through them, at that point clean completely. Once the gaps are free of limescale, the showerhead’s water stream ought to return to normal.
If the blockage is extreme, you can expel the showerhead and splash it, taken after by cautious cleaning. Utilizing acidic substances to expel limescale is moreover viable. You can utilize rice vinegar or normal vinegar; blend them with water in a 1:1 proportion, at that point drench the showerhead in the arrangement for a few hours. This will offer assistance break up the limescale.

In summary:we have presented how to increment showerhead water weight. You can take after these three strategies to move forward water weight. In any case, it’s fundamental to utilize the redress approach to dodge superfluous complications. If you need to learn more related information, you can take after our site for request.